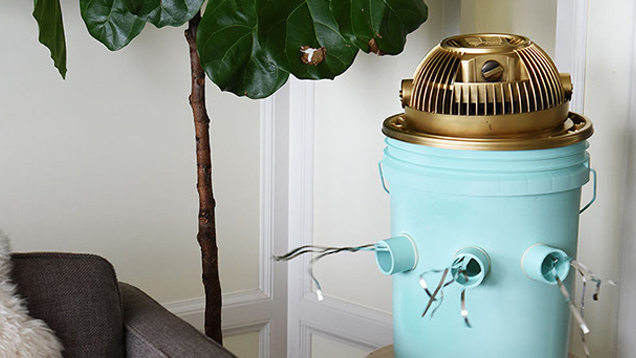
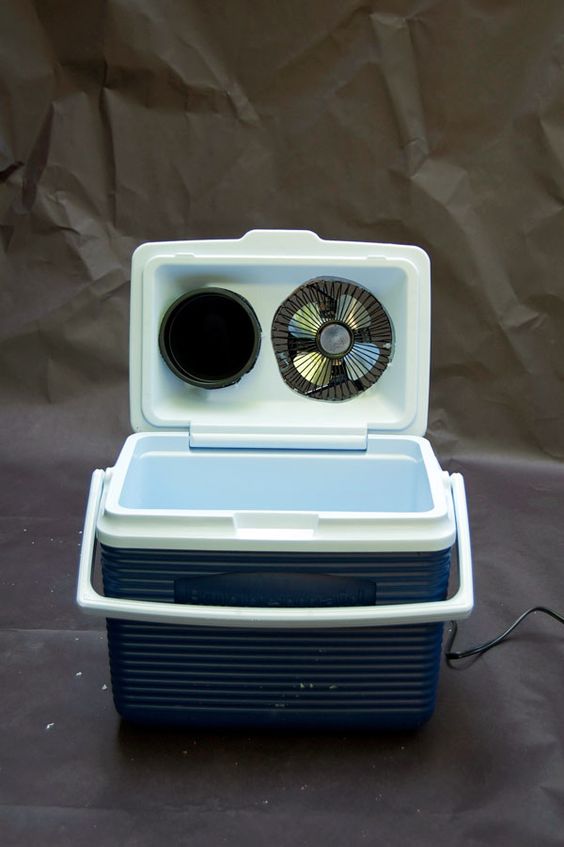
If you didn’t have air conditioning during this extremely warm weekend, this 5-Step DIY Portable Air Conditioner could have helped you a lot!
Whether your air conditioner at home is broken, you’re camping with your friends, or you’re at the beach with your family, this 5-Step DIY Portable Air Conditioner will keep you cool and comfortable wherever you are. Don’t stand another day of unwanted heat without this easy DIY project.
The Easy 5-Step DIY Portable Air Conditioner
If you want to keep it really simple, don’t worry about how it looks, as long as the cold air reaches you, that’s all that matters. Keep in mind that you can get extremely creative with this project, especially if you are crafty and love to make everything look unique and amazing. Take our recommendations for creation with a grain of salt, it can all be altered to how you want it to look.
Step 1: Collect the Materials Needed for your project
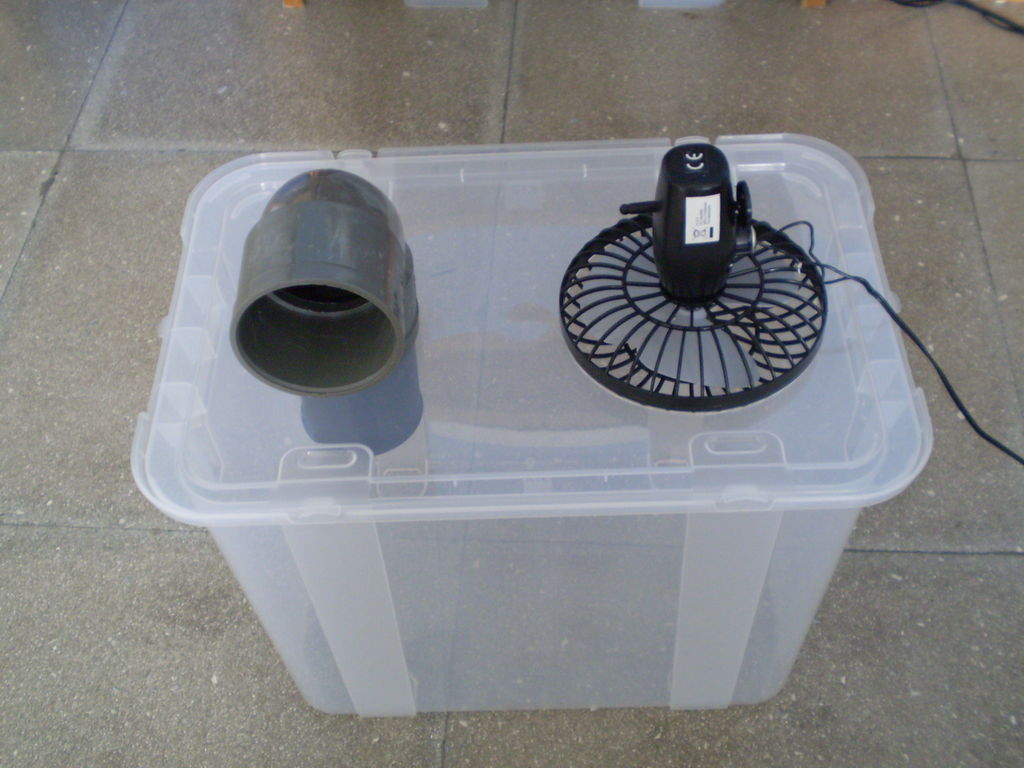
- A Cooler or Large Bucket with a Lid (The lids on a Coleman cooler produce clean edges when cut with the proper tools, but any cooler will do. If you are using a bucket, you don’t want it smaller than 5 Gallons.)
- 1 Large PVC Elbow Joint or 3 Smaller PVC Elbow Joints
- 1 Small-Medium Desk Fan (A battery or solar powered one would truly make this a DIY Portable Air Conditioner)
- 1 Sharpie Marker (for tracing)
- 1 Jigsaw (for cutting)
- Giant block of Ice or a lot of Ice Cubes
Step 2: Tracing
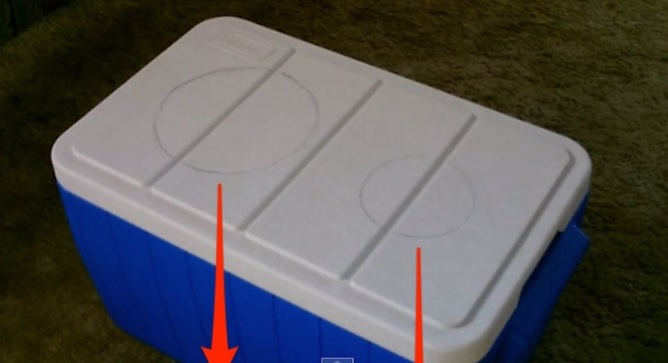
In this step you want to place the Desk Fan face down on the lid and the PVC Elbow Joint(s) either on the lid of the cooler or side of your bucket. Whichever you are using.
You then want to trace the shapes the best you can onto your cooler or bucket to prepare for optimal cutting.
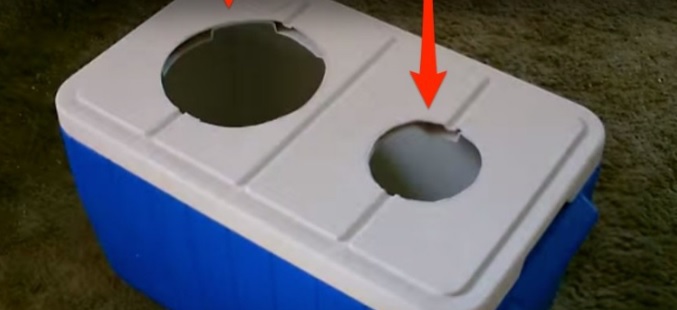
Step 3: Cutting
Using your Jigsaw, cut along the lines you created with your sharpie marker. The more exact your cut is… the better your materials will fit in the slots!
HURRY! Father’s Day Sales may still be on! Check your local hardware stores.
Step 4: Inserting Your Materials
This step may be a little tricky. You may need to wiggle your Desk Fan and PVC Elbow Joint into place and make minor cuts to your cooler lid or sides of your bucket to make the items fit into place.With a little patience, they will fit perfectly!
If you want to make your portable air conditioner a more permanent feature, you can glue the Desk Fan and PVC Elbow Joint into place and seal around the edges with silicone.
Step 5: Add Ice and Start Cooling Off!
As stated previously add a Large Block of Ice or a ton of Ice Cubes to the bottom of you bucket or cooler, close the lid, turn on your fan, and be amazed!
Camping or the beach will never be the same again.
Here is a video to follow on how to make your own 5-Step DIY Portable Air Conditioner.
Did you miss Our last post ‘Home Energy Saving Tips for Summer You NEED to Know‘? Read it now!


